Chosen Theme: Repairing and Replacing Old Hardware on Vintage Pieces
Bring tired treasures back to life with respectful methods, practical tips, and real-world stories focused on repairing and replacing old hardware on vintage pieces. Follow along, ask questions, and subscribe for fresh restoration wisdom.
Understanding Original Hardware
01
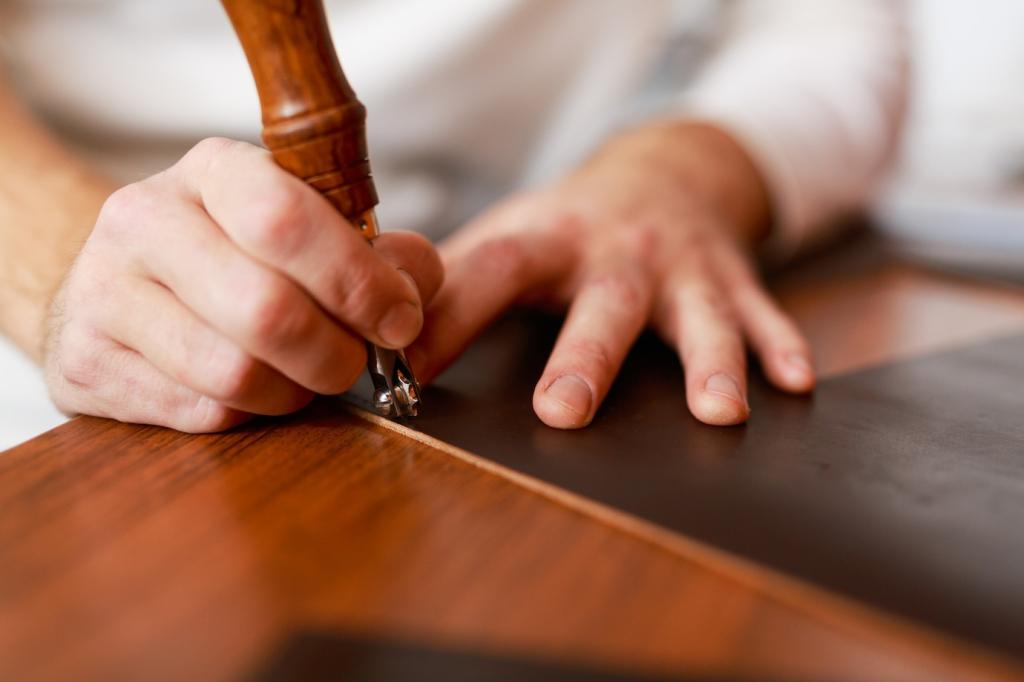
Spotting age and authenticity
Look for slot-head screws, uneven threads, and tool marks that suggest handwork. Oxidation patterns, witness lines around backplates, and ghost imprints tell stories about placement, pressure, and decades of daily handling.
02
Deciding to repair or replace
When parts still function with minor coaxing, repair preserves originality and value. Replace only when safety, usability, or structural integrity is compromised, and always aim for materials and styles sympathetic to the era.
03
Document before dismantling
Photograph hardware from multiple angles, then label bags for each screw, washer, and spring. Sketch hole spacing and orientation. This simple documentation prevents guesswork and ensures faithful reassembly after cleaning or repair.
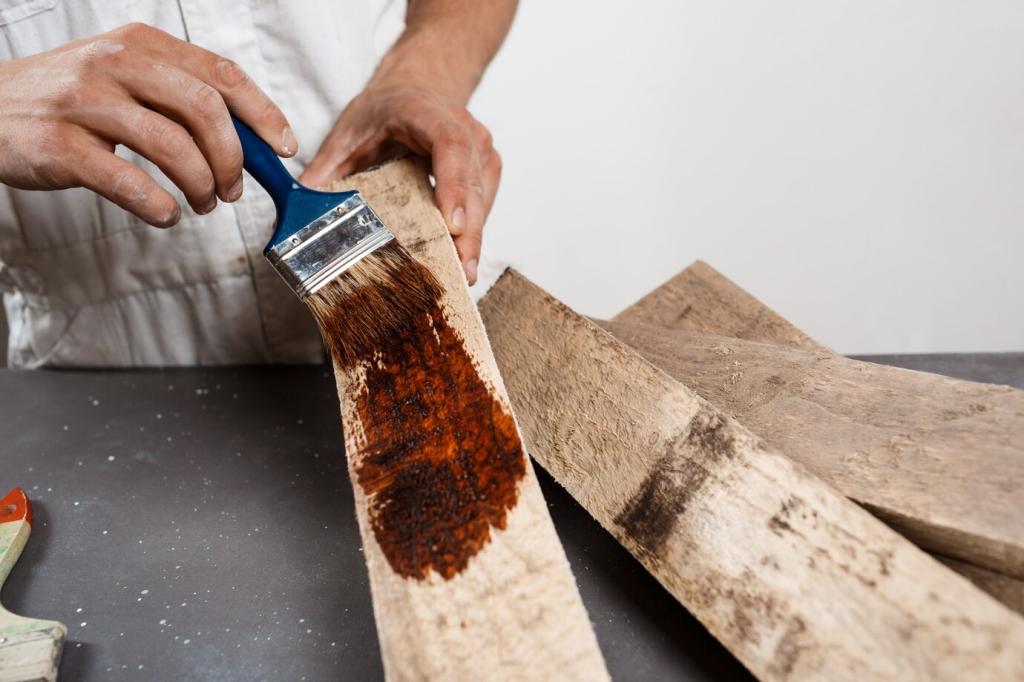
Gentle Repair Techniques That Respect History
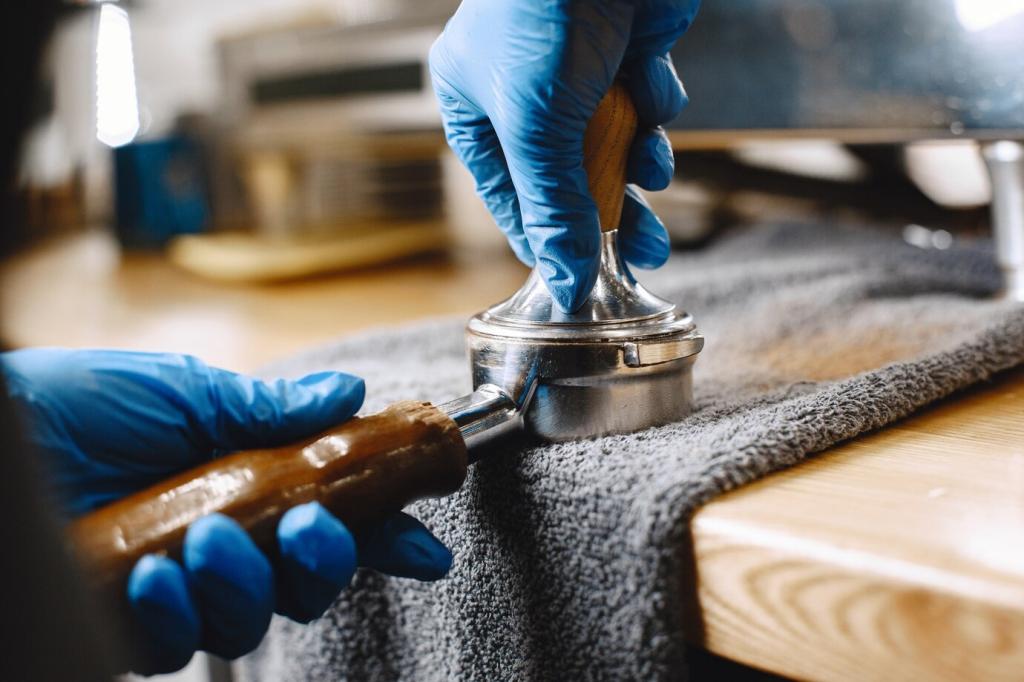
Apply penetrating oil and allow time to work. Use gentle heat, rubber bands for grip, or an impact driver with care. If heads are fragile, cut a fresh slot rather than risking a snapped shank.
Assume old finishes may contain lead. Wet-sand, wear a respirator, and capture dust. Use nitrile gloves with chemicals. Ventilate well. Carefully dispose of debris to safeguard your workspace, family, and environment.
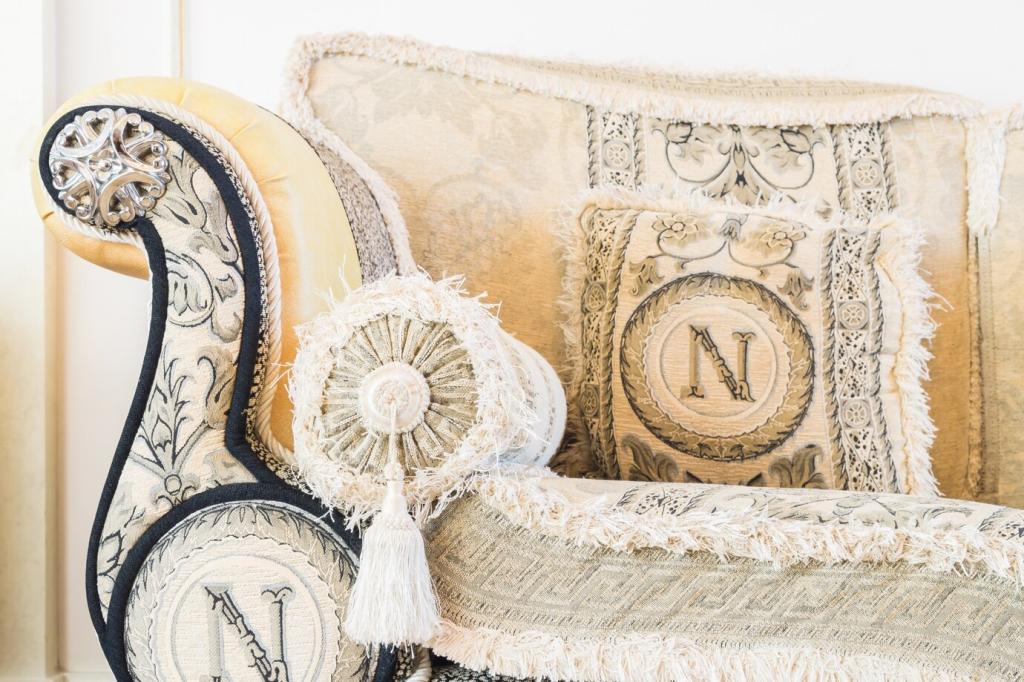
Safety, Ethics, and Storytelling
Preservation comes first: stabilize, then restore. Replace only when function or safety demands it. Keep removed originals labeled for future caretakers. Transparency builds trust and sustains the piece’s cultural and sentimental value.
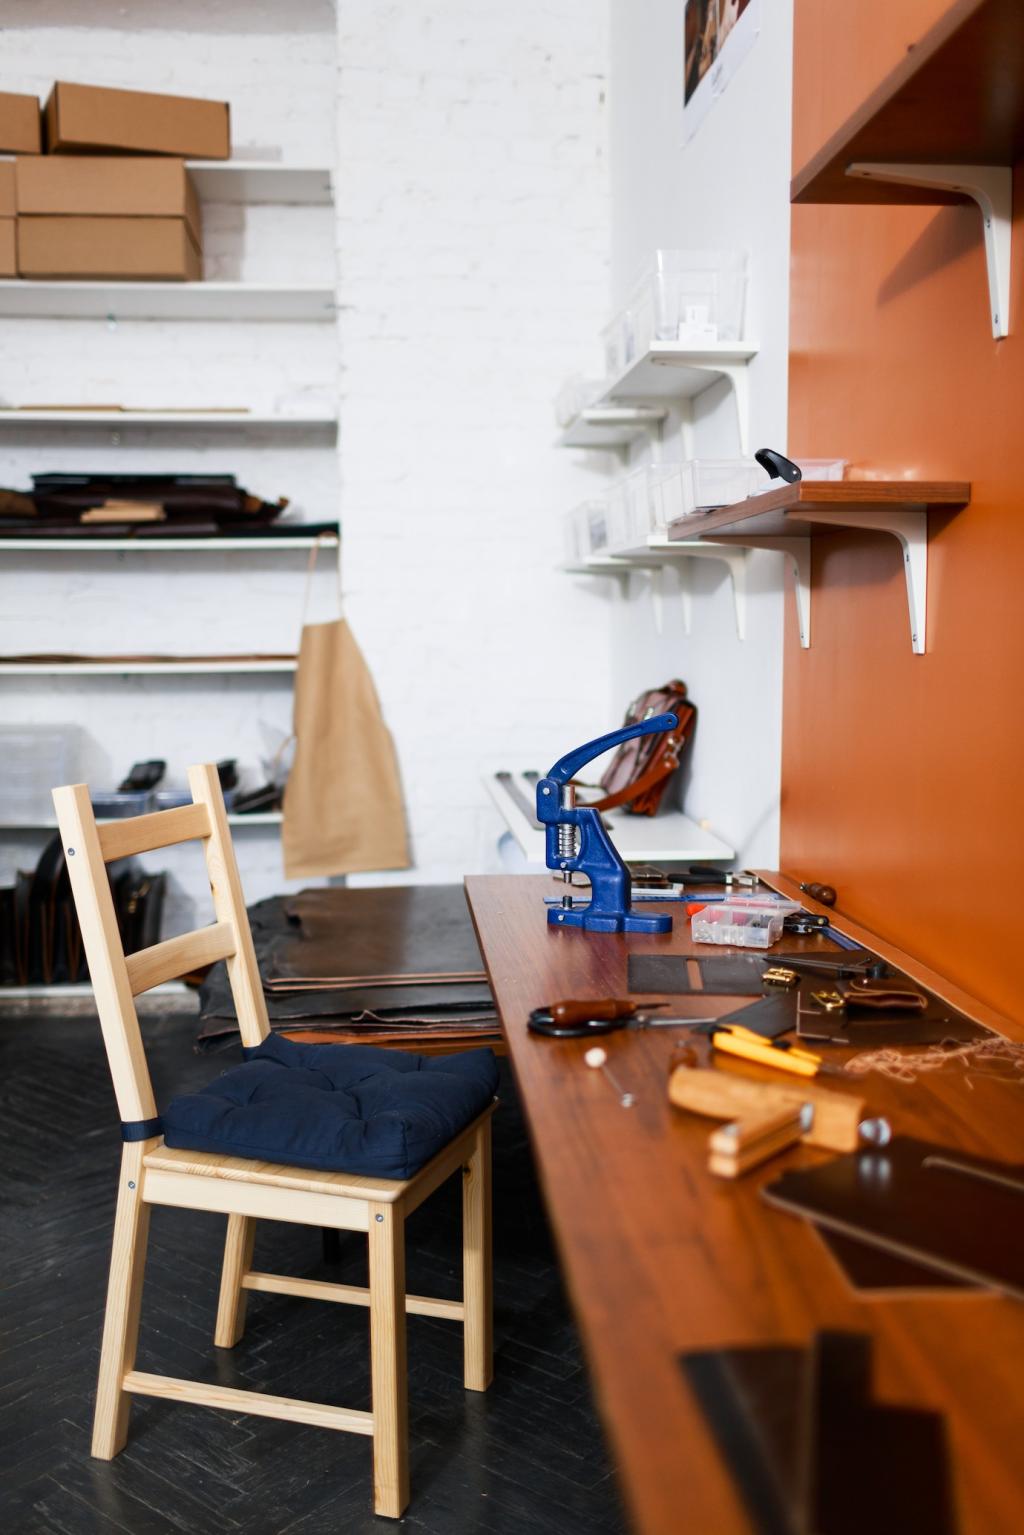
Maintenance, Documentation, and Community
Routine care that lasts
Dust regularly, wax annually, and tighten gently when seasonal wood movement loosens screws. Avoid silicone sprays and harsh polishes. Small, consistent habits prevent big breakdowns and keep vintage hardware working smoothly.
Log dates, materials, finishes, thread sizes, and sources. Include photos and sketches of spacing. Future you—or the next steward—will thank you when a rattle returns or a matching hinge becomes necessary.
Have a puzzle, triumph, or cautionary tale about repairing and replacing old hardware on vintage pieces? Comment below, ask specific questions, and subscribe. Your insights help others preserve stories embedded in metal and wood.