
Reviving History: Painting and Staining Techniques for Antique Pieces
Chosen theme: Painting and Staining Techniques for Antique Pieces. Step into a world where brushstrokes honor heritage and stains whisper timeworn stories. We’ll explore respectful methods that protect value, deepen character, and invite you to participate—comment with your current piece, subscribe for weekly tips, and share your progress with our community.
Identify wood species and prior finishes
Start by reading grain, pores, and scent: oak’s open pores, mahogany’s ribbon, old pine’s resinous sweetness. Test finishes with denatured alcohol for shellac, mineral spirits for wax. Note alligatoring, crazing, or sun fade. Snap a few photos, share them with us, and ask the community to help confirm species and finish history.
Gentle cleaning and de-waxing without stripping character
Begin with soft cloths and mineral spirits to lift grime while leaving patina intact. Use 0000 steel wool lightly over wax-blooms; avoid water that can raise grain. Always test a hidden spot and move slowly. If you discover surprising buildup, comment below with details—someone has likely solved that exact situation and can guide your next move.
When and how to strip safely
If stripping is necessary, choose soy or citrus gel strippers to minimize harsh exposure and preserve sharp edges. Scrape with a card scraper held flat, then neutralize per manufacturer’s directions. Watch for possible lead layers and ventilate thoroughly. Unsure whether to strip or clean? Describe your piece in the comments, and subscribe for our decision checklist.
Selecting Paints, Stains, and Dyes that Respect the Era
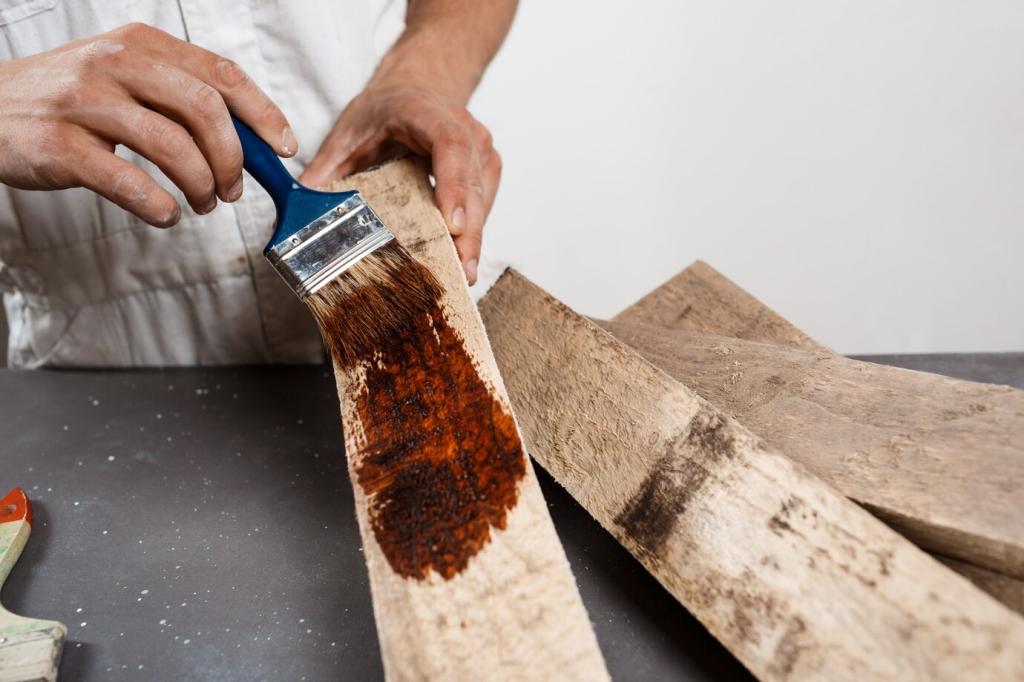
Oil-based stains enrich open-grained woods with warm depth; water-based stains provide clarity and quick cleanup; alcohol dyes penetrate fast with vivid color. Consider the original coatings—shellac and wax were common historically. Keep layers compatible and reversible when possible. Share your project’s timeframe and environment below for tailored product suggestions.
Selecting Paints, Stains, and Dyes that Respect the Era
Casein-based milk paint brings a soft, chalky authenticity that suits country pieces and simple forms. Mix fresh, strain for smoothness, and apply over a bonding primer if needed. Encourage subtle chipping by resisting high-traffic zones. Post your milk paint color tests and subscribe to see our favorite layered recipes for believable age.
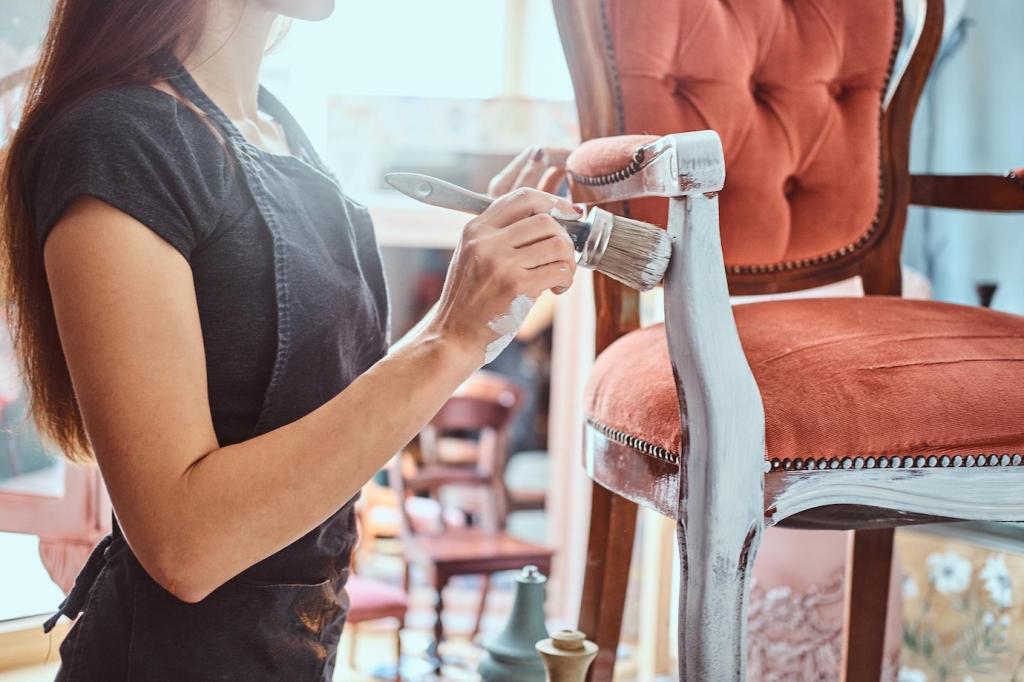
Color, Tone, and Layering for Depth
Thin a compatible finish with a touch of pigment to create translucent glazes. Brush on, settle into recesses, then gently wipe back high spots. Repeat to develop shadows and highlights that mimic decades of handling. If you try this on a frame or chair rung, post before-and-after pictures and tell us what pigment mix worked best.
Color, Tone, and Layering for Depth
Amber undertones can warm tired oak, while a drop of green can calm overly orange mahogany. Test toners under daylight and lamplight; antiques live in changing conditions. Keep adjustments subtle, preserving grain clarity. Comment with your undertone experiments and subscribe for our printable undertone swatch guide tailored to common historical woods.
Color, Tone, and Layering for Depth
Create test panels using offcuts or the underside of a drawer bottom. Replicate your exact sequence: clean, seal, stain, glaze, and topcoat. Label every layer and drying time. This record saves heartache later. Share a snapshot of your tests with notes; we’ll feature standout boards in a subscriber roundup to inspire others.
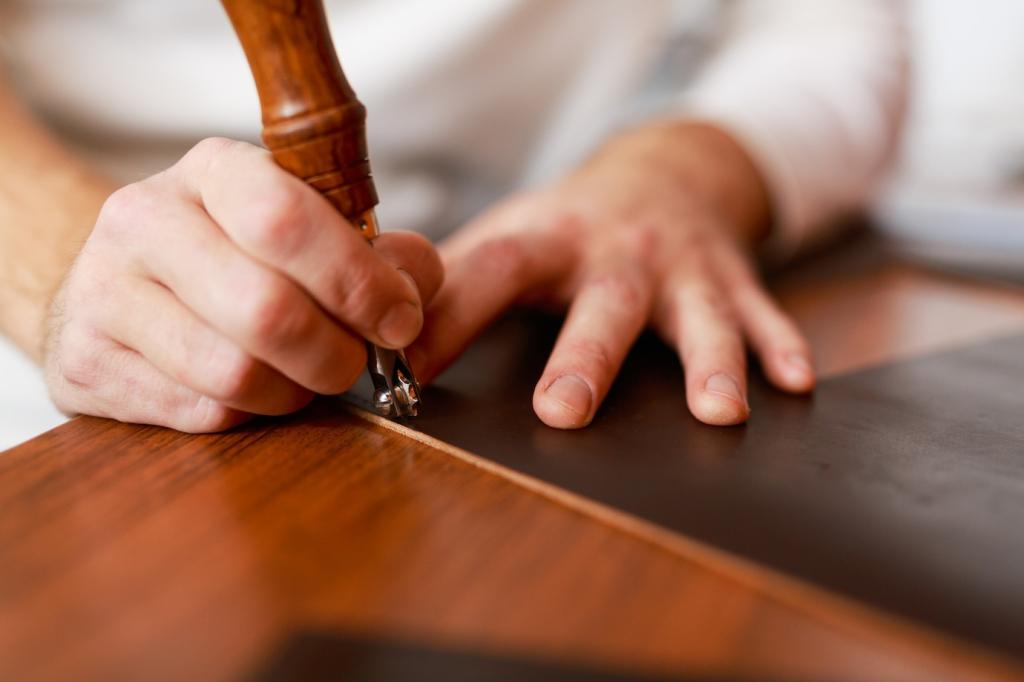
Hand Techniques that Tell a Story
01
Load a small amount of paint, knock most off, then tickle raised details with barely-there strokes. Feather transitions so color feels whisper-thin rather than masked. This technique highlights carvings without burying them. Try it on a single drawer first, share your results, and ask for feedback before tackling the entire case.
02
Real use concentrates at pulls, corners, and chair rails. Lightly burnish edges with brown kraft paper or a worn cotton rag to simulate softened sheen. Avoid sandpaper scars across flat fields. Study your piece’s handling patterns, then report back with your observed “wear map.” Subscribers often spot authentic touchpoints you may have missed.
03
A touch of pigment in wax settles into pores and carvings, adding gentle shadow. Liming wax brightens oak, while pickling tames yellowing on pine. Buff to a glow, not a gloss. Post your favorite wax formulas and subscribe for our evolving index of historically sympathetic tints organized by species and furniture style.
Protective Topcoats and Long-Term Care
Dewaxed shellac as a unifying sealer
Dewaxed shellac bridges old and new, locking in color while improving adhesion for subsequent coats. Cut it thin, pad or brush lightly, and sand delicately between layers. It warms tone without burying grain. Tell us how your piece responded to a shellac seal and subscribe for mixing ratios that match seasonal humidity shifts.

The diagnosis
We found a 1920s quarter-sawn oak dresser: nicotine haze, wax blooms, and an alligatored shellac skin. A quick alcohol test confirmed shellac; a swab test ruled out lead in the paint-splattered back. Share a photo if your piece looks similar and ask questions about safe first steps before you touch a single panel.
The transformation
After gentle cleaning, a thin dewaxed shellac seal stabilized color. A medium-walnut gel stain unified mismatched drawers, followed by a warm glaze that settled into fleck figure. Edges were burnished, then topped with shellac and a breathable wax. Comment if you want our exact timing chart and subscribe for the full step-by-step.
The reveal and lessons learned
When the family saw the ray-fleck sparkle again, they swore the dresser smelled like granddad’s pipe tobacco. We relearned restraint: fewer, thinner layers win. Share your emotional reveal moments and what techniques surprised you; we’ll highlight standout stories in an upcoming subscriber edition to encourage patient craftsmanship.
Safety, Ethics, and Common Pitfalls
Before sanding or stripping, use a reputable lead test and wear proper PPE. Contain dust, ventilate generously, and dispose of waste according to local regulations. When uncertain, consult a professional. Tell us your safety setup and subscribe to our checklist—several readers have shared clever, affordable containment solutions worth adopting.
Safety, Ethics, and Common Pitfalls
Whenever possible, choose finishes that can be undone—shellac, wax, and gentle glazes—so future caretakers can adapt. Avoid aggressive sanding that erases tool marks and provenance. If a museum approach fits your piece, say so in the comments and we’ll guide you toward conservation resources, plus subscriber Q&A sessions with restorers.