Restoring Vintage Furniture: A Step-by-Step Guide

Chosen theme: Restoring Vintage Furniture: A Step-by-Step Guide. Breathe new life into timeless pieces with practical steps, honest stories, and smart methods that honor history. Follow along, ask questions as you go, and subscribe if you love saving character-rich furniture from the landfill.

Evaluate the Piece Before You Lift a Screwdriver

Examine dovetails, mortise-and-tenon joints, screw types, and tool marks to estimate age and quality. Honest wear around handles, foot rails, and edges reveals authentic use. Share a photo of your piece, and we’ll help interpret its clues together.

Evaluate the Piece Before You Lift a Screwdriver

Look for grain patterns, end-grain pores, and color under hardware to distinguish walnut, oak, mahogany, or maple. Check for veneer edges at corners. Test finish gently with alcohol and mineral spirits to spot shellac, lacquer, or varnish without harming history.

Evaluate the Piece Before You Lift a Screwdriver

Conservation preserves patina and stabilizes damage, restoration repairs while keeping original character, and refinishing replaces the surface entirely. Set goals: display, daily use, or resale. Comment with your intention so we can tailor steps to fit your vision.

Gather the Right Tools and Materials

Start with a card scraper, cabinet scraper, cabinetmaker’s chisels, block plane, 0000 steel wool, cotton rags, soft-bristle brushes, and a quality putty knife. Add syringes for glue injection, small clamps, and a bright headlamp. Tell us what’s already in your kit.

Gather the Right Tools and Materials

Ventilation matters when using solvents. Wear nitrile gloves, eye protection, and a proper respirator when needed. Keep a metal can for oily rags to prevent combustion. Clear a stable bench and label containers. Share your workspace setup for safety feedback.

Gather the Right Tools and Materials

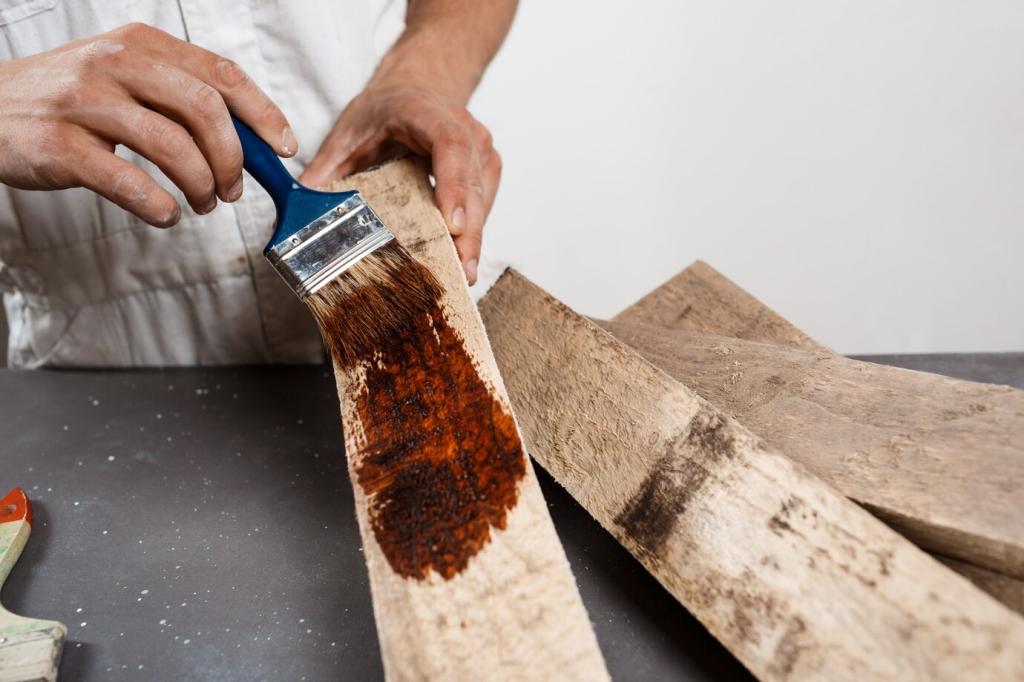
Choose biodegradable cleaners, low-VOC strippers, and water-based finishes when appropriate. Keep denatured alcohol for shellac and citrus-based solvents for sticky residues. For historical accuracy, stock liquid hide glue or prepare hot hide glue. Ask for supplier suggestions near you.

Start with the gentlest method first

Begin with vacuuming, soft brushes, and a damp cloth with a mild soap solution. Follow with mineral spirits to lift grime. Many times, dirt imitates damage. Post your before-and-after cleaning shots; small wins keep motivation high during bigger repairs.

Stripping old lacquer, varnish, and shellac

Test spots discreetly. Alcohol softens shellac; lacquer thinner affects lacquer; chemical strippers tackle stubborn varnish. Scrape with plastic tools to spare veneer. Neutralize residues thoroughly before sanding. Share your test results so we can adjust the plan step by step.

Color, Grain, and Finish Magic

Matching color with dyes and stains

Use water or alcohol dyes to set undertones, then glaze with gel stains for subtle depth. Always sample on hidden areas. Aim for harmony with existing patina, not perfect uniformity. Post swatch photos, and we’ll recommend tweaks for believable vintage warmth.

Filling grain and leveling for mirror-smooth surfaces

Open-pored woods like oak and mahogany benefit from grain filler tinted to the target color. Apply, scrape across grain, then level. A few thin sealer coats prevent blotches. Ask about filler brands and techniques if you’re chasing that period-correct satin sheen.

French polishing and hand-rubbed oils

French polishing with shellac flakes and a muneca creates luminous depth, while oil-and-wax blends feel warm and tactile. Work in thin, patient layers. A subscriber once revived a radio cabinet this way; share your project, and we’ll guide your finishing schedule.

Care, Maintenance, and Display

Waxing, dusting, and daily care

A thin coat of paste wax buffed with soft cloths protects and enriches tone. Dust with microfiber and avoid harsh sprays. Coasters and felt pads prevent new scars. Share your maintenance routine, and we’ll suggest a seasonal checklist tailored to your climate.

Humidity, sunlight, and seasonal movement

Wood expands and contracts. Aim for steady humidity around forty to fifty percent and avoid direct sun that bleaches finishes. Rotate displays seasonally to balance exposure. Tell us where your piece lives, and we’ll help mitigate local environmental risks.

Moving, pads, and long-term protection

Lift by the frame, not arms or rails, and remove drawers before transport. Use blankets and edge guards, then re-level feet on arrival. Keep provenance notes and repair photos. Post your restored reveal; we’ll feature standout transformations in our next roundup.
Togeljpsave
Privacy Overview

This website uses cookies so that we can provide you with the best user experience possible. Cookie information is stored in your browser and performs functions such as recognising you when you return to our website and helping our team to understand which sections of the website you find most interesting and useful.